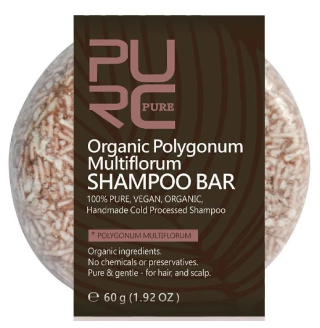
One Shampoo Bar at a Time for Sustainable Impact
Sustainability is increasingly necessary in a world where environmental challenges are increasingly recognized. Personal care goods, especially hair products, have typically been packaged with plastic, considerably exacerbating ecological pollution. To address this issue, shampoo bars have been developed as a suitable solution. These little, environmentally friendly replacements are becoming more well-known for their capacity to deliver excellent hair care while minimizing plastic waste.
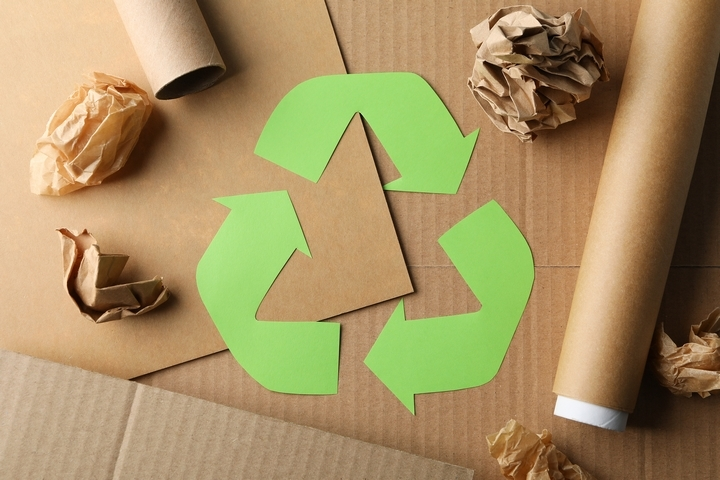
It is vital to embrace plastic-free haircare procedures. Single-use plastic packaging contaminates the land and ocean, contributing to the global concern over plastic pollution. Compared to ordinary liquid shampoos, shampoo bars offer a novel option packaged in minimal, usually recyclable or biodegradable materials, lessening the environmental impact. They are an effective and environmentally beneficial solution for consumers wishing to limit their plastic footprint due to their tiny shape and lack of plastic packaging.
Haircare Without Plastic: An Immediate Need
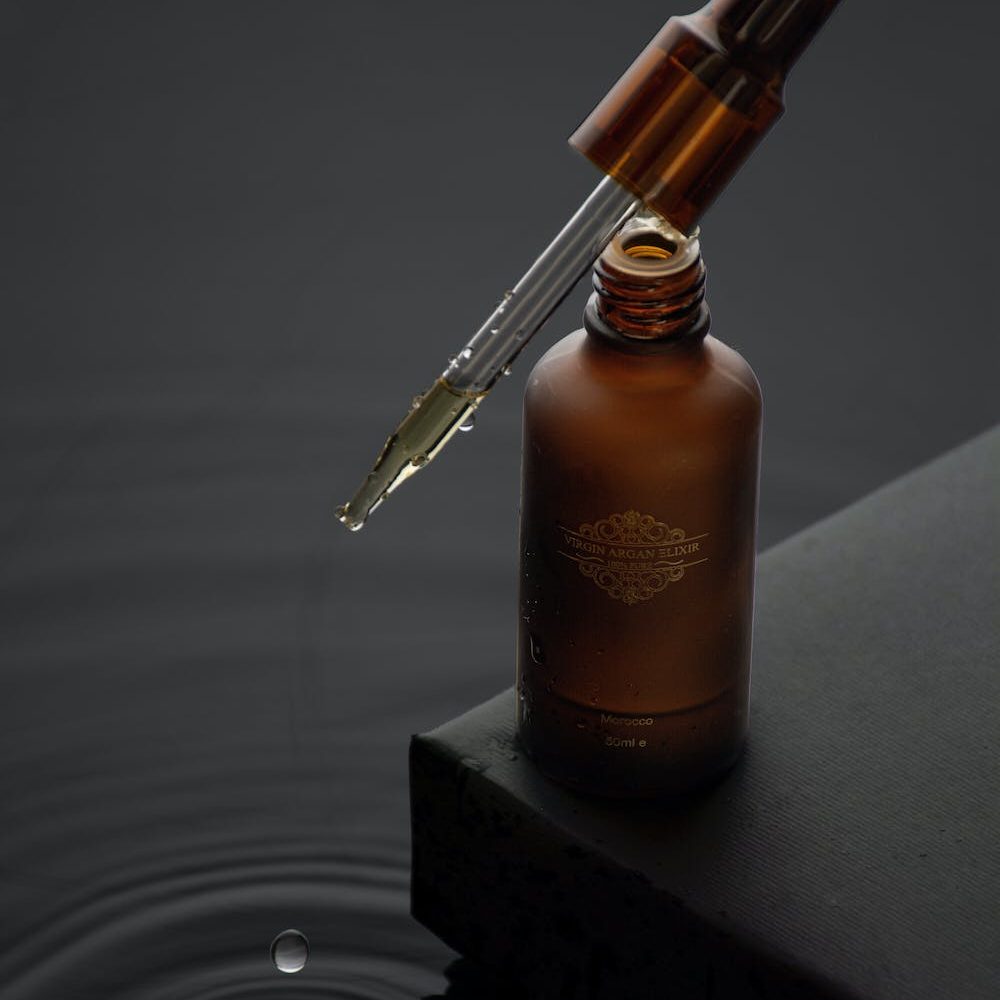
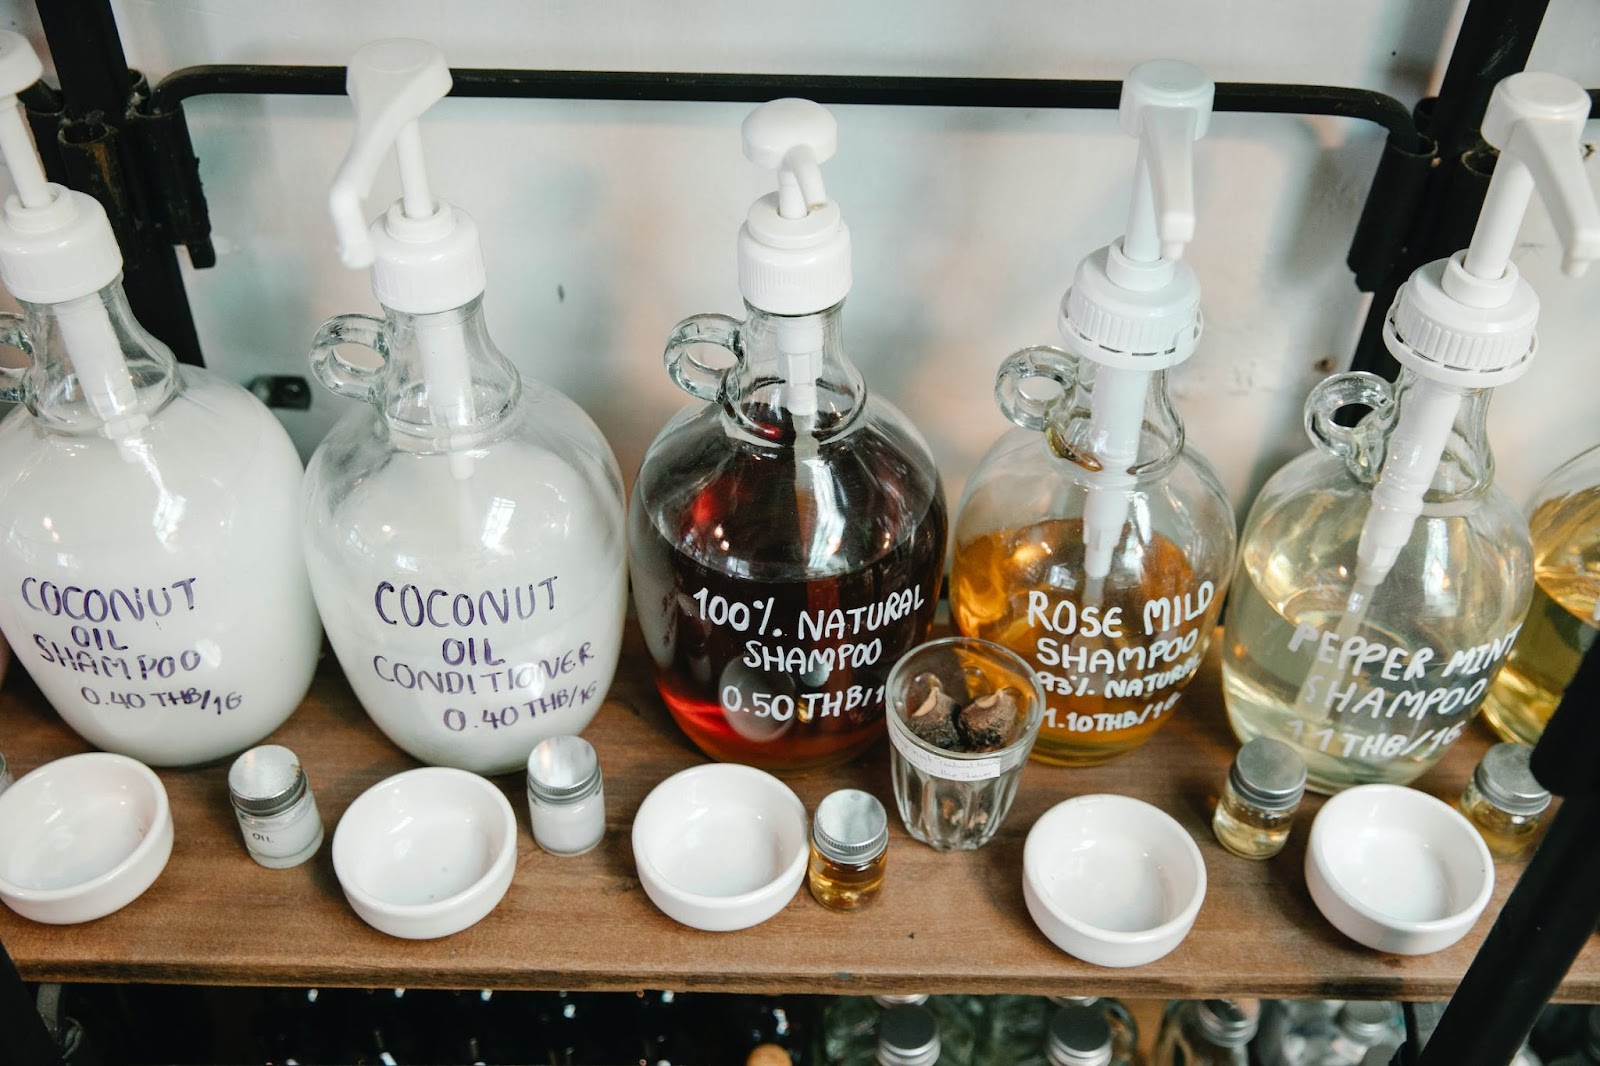
The widespread presence of plastic has led to substantial environmental worries regarding its potential repercussions. Among personal care and cosmetics, shampoo packaging has been identified as a critical contributor to the growth of plastic trash. Traditional liquid shampoos use a lot of plastic bottles, which contributes to the frighteningly high pollution levels. These plastic containers, typically single-use and carelessly abandoned, wind up in landfills or the ocean, where they remain for many generations before being destroyed.
Because plastic is so widespread in our lives, we now know more about its detrimental impacts. The personal care and cosmetics industry is especially troubling because shampoo packaging adds considerably to the growing plastic waste problem. Liquid shampoos, frequently packaged in plastic bottles, have come to reflect the persistent pollution problem. These containers, generally used only once before being thrown away, contribute to the growing amounts of waste in landfills and aquatic environments since they take a long time to break down.
Because of plastic’s pervasive use in contemporary culture, worries regarding its effects on the environment have grown. The personal care and cosmetics business, notably shampoo packaging, is one of the main culprits behind the continued growth of plastic garbage. Liquid shampoos, usually maintained in plastic bottles, represent a significant element of the current environmental disaster. These containers’ disposability contributes to the enormous waste that fills landfills and oceans, taking decades to degrade.
Shampoo Bars: The Emergence of Sustainable Haircare
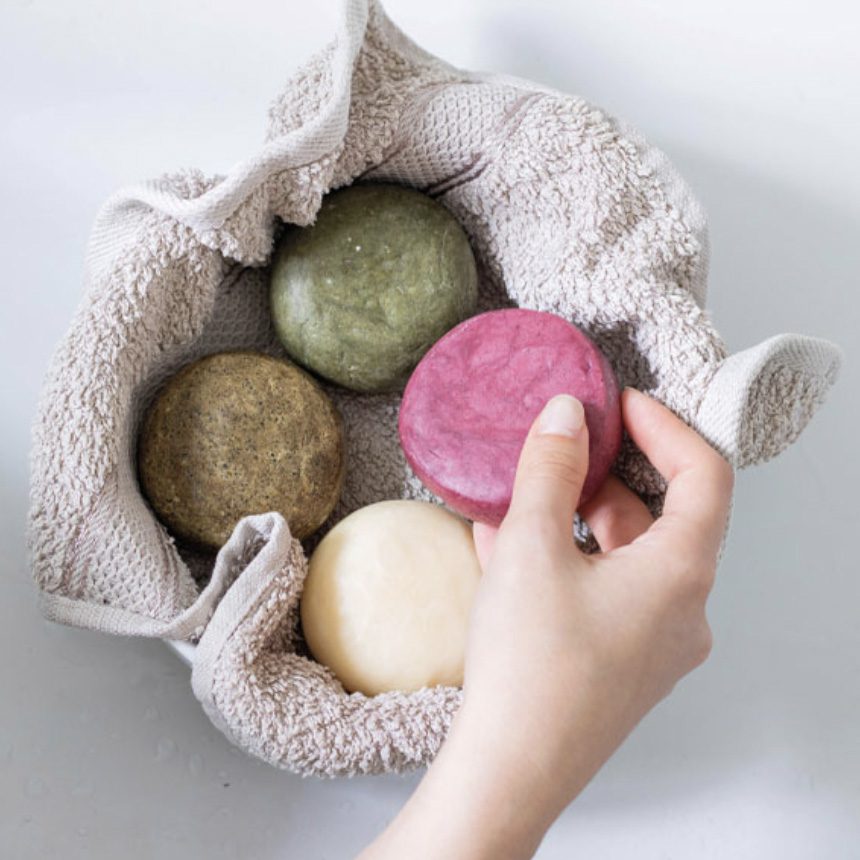
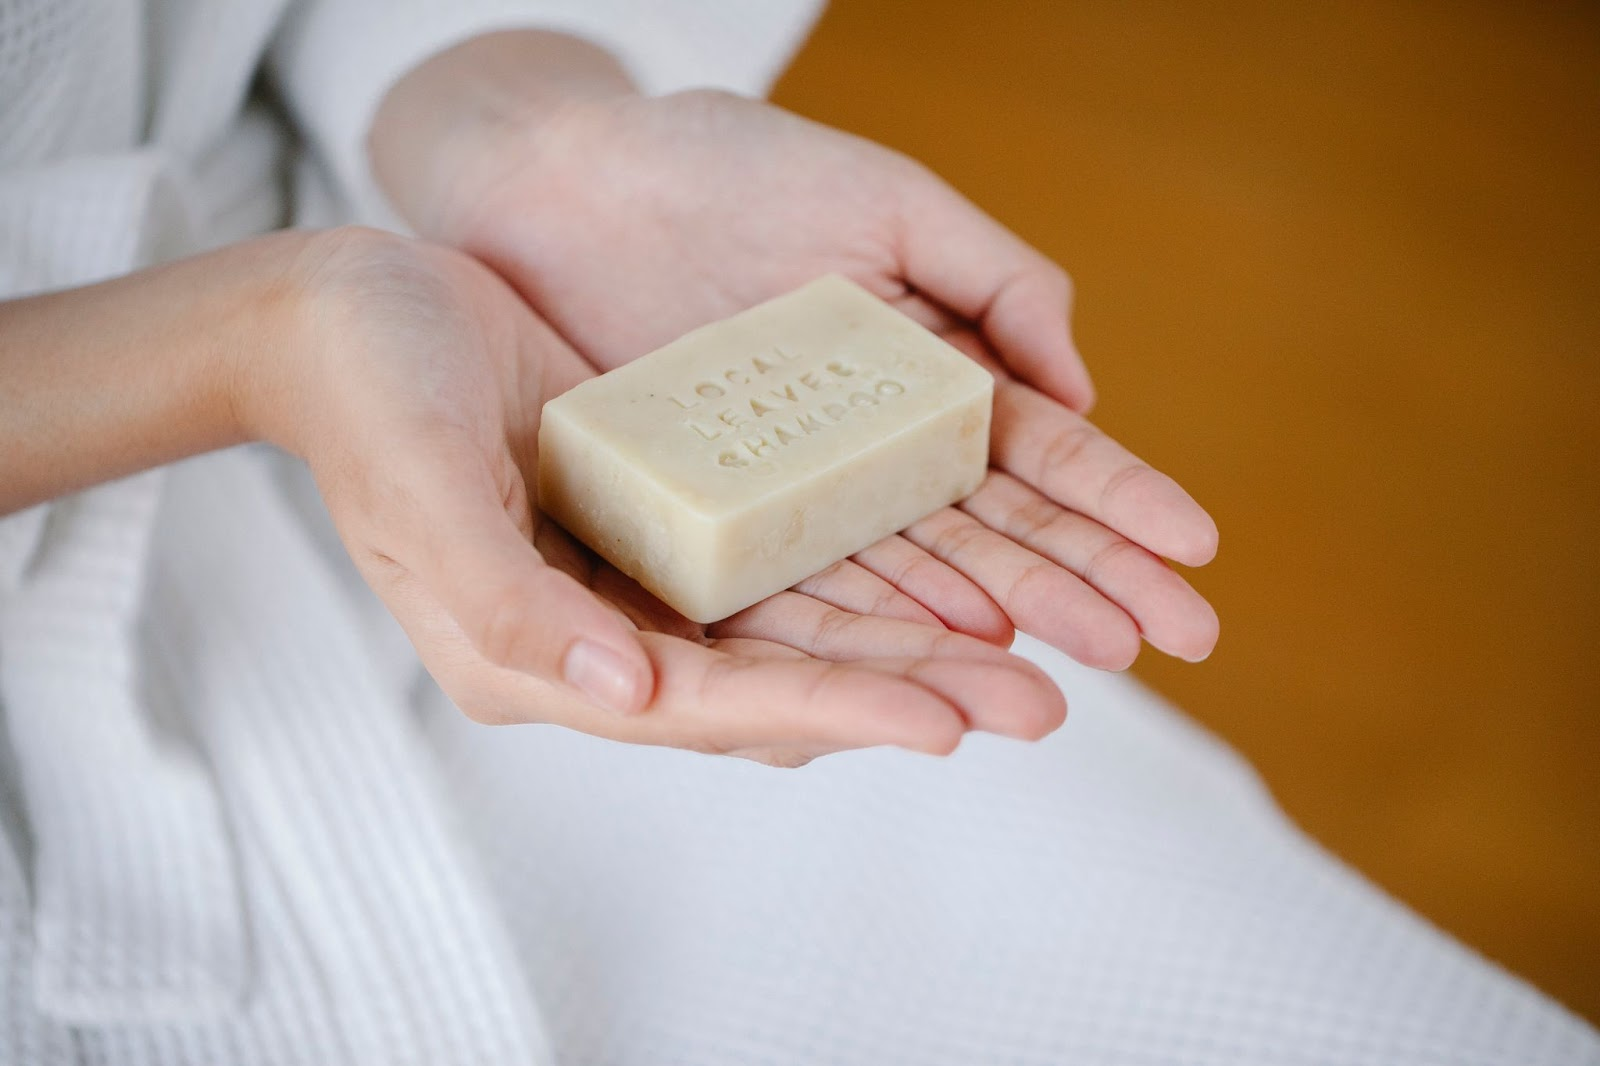
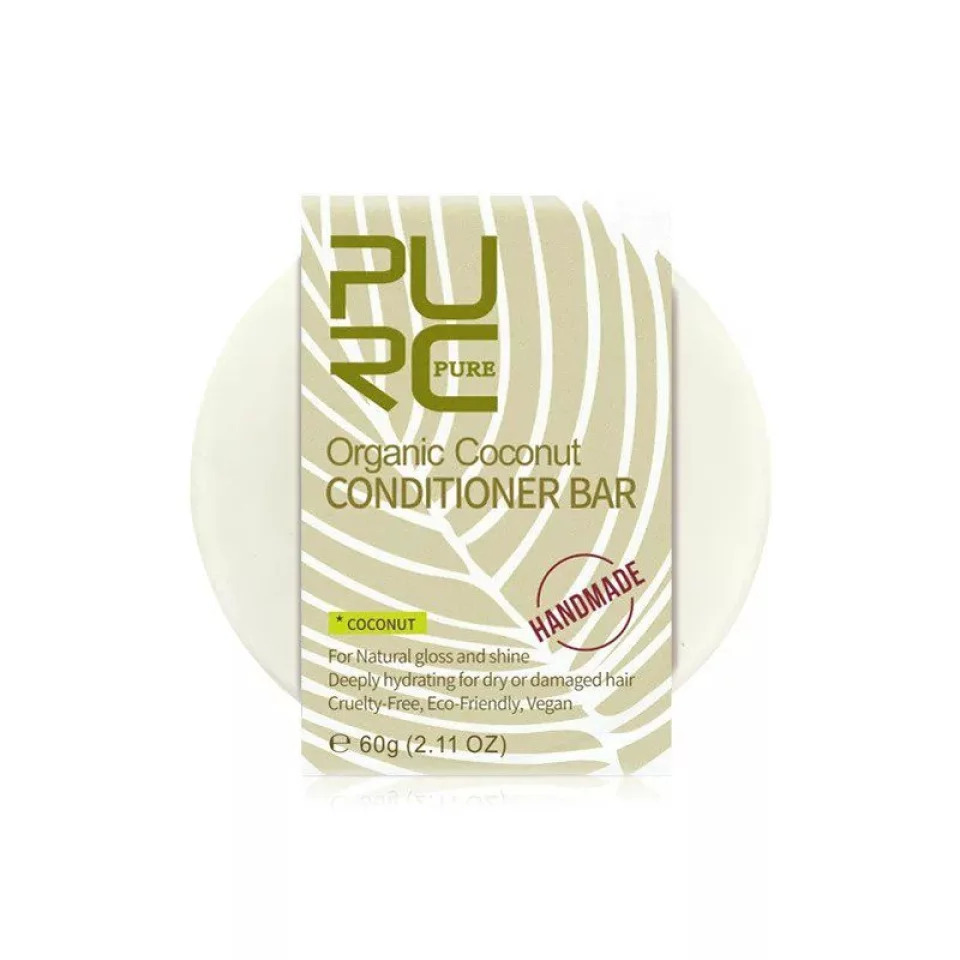
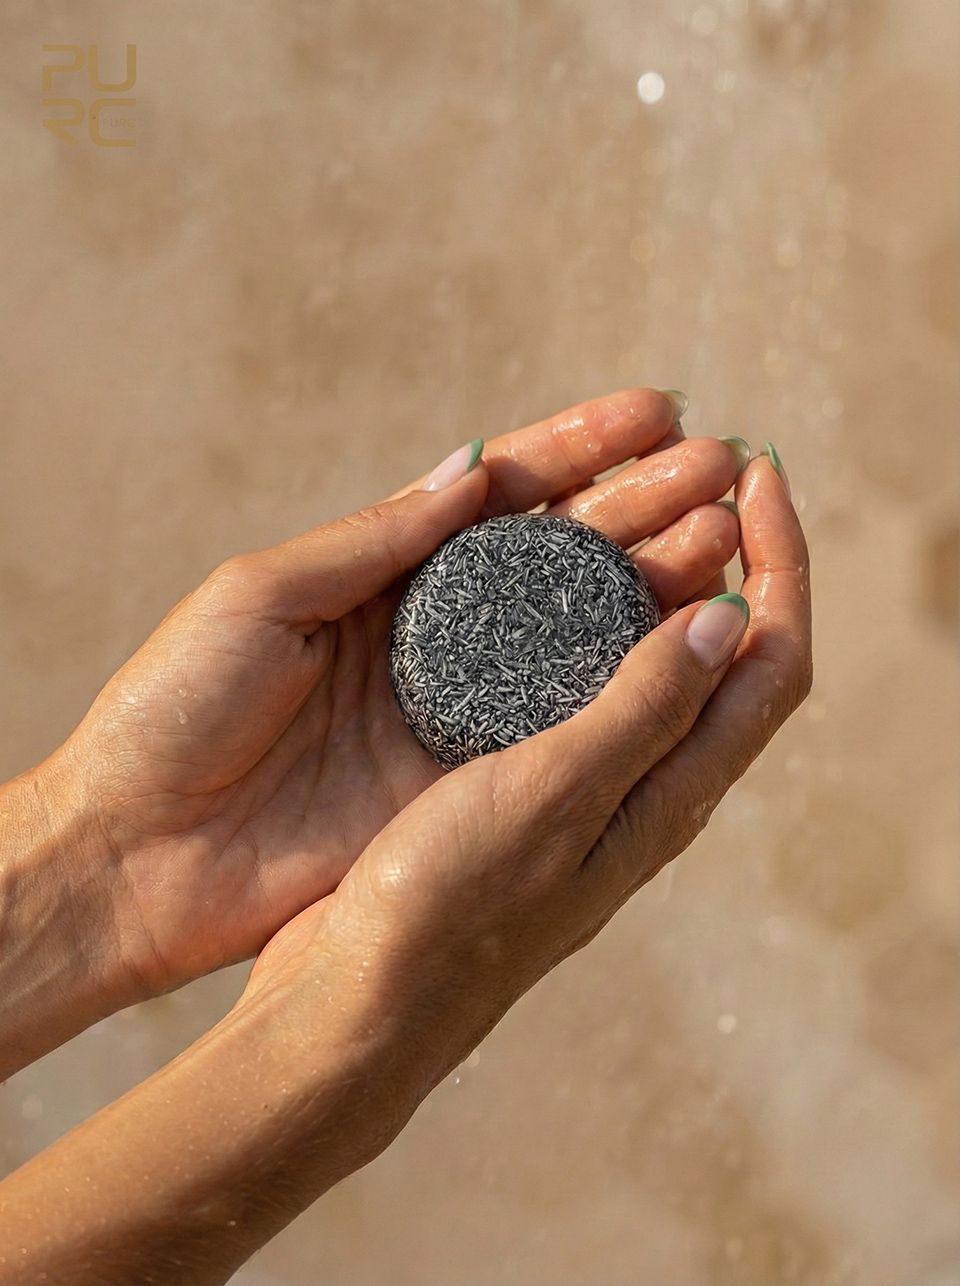
Shampoo bars for the environment have seen significant growth in the present setting of environmental concerns. These concentrated hair care solutions are in bar form and don’t require plastic packaging. When paired with regular liquid shampoos, they often come in packaging that is recyclable, biodegradable, or minimalistic, which considerably decreases their environmental impact. In addition to boosting their usefulness, their modest size promotes them as a sustainable and eco-friendly solution for customers who are determined to minimize their plastic consumption.
Shampoo bars are appealing because they fundamentally differ from the typical liquid shampoo paradigm. These bars’ solid form lowers the need for plastic bottles, which are among the principal sources of environmental deterioration. This unique design considerably minimizes the total ecological effect by removing the need for extra packing. Furthermore, the materials in their packaging are usually picked to be environmentally friendly; that is, they are recyclable or biodegradable, keeping with the sustainability idea.
Shampoo Bar Benefits
Their diminutive stature provides various advantages. They not only demonstrate themselves to be conveniently transportable and space-efficient, but they also offer an environmentally responsible option for clients who care about the environment. By opting for shampoo bars for the environment, individuals actively aid in lowering their plastic usage, integrating their shopping behaviour with a desire for environmental preservation. The increasing popularity of these bars suggests a shift in customer preferences toward eco-friendly goods and more sustainable hair care procedures.
- Eco-Friendly Haircare: Shampoo Bars’ Advantages in Reducing Plastic Waste. Shampoo bars are a vital component of the answer to the problem of plastic waste. Their low or nonexistent packaging minimizes the demand for plastic bottles, thereby minimizing the amount of single-use plastics utilized. This dramatically decreases the load that pollution from discarded plastic has on the ecosystem.
- Durability and Effectiveness: Because shampoo bars are so much more concentrated than their liquid counterparts, they offer a built-in lifespan advantage. Their modest size conceals their lengthy life—they outlive numerous bottles of regular liquid shampoo. In addition to providing clients with an affordable option, this resilience improves sustainability by lowering the frequency of product acquisition and the trash accompanying it.
- Travel Convenience: Shampoo bars are an excellent option for travel due to their compact size and robust structure. Their strong design decreases the danger of leaks, complying with airline carry-on baggage restrictions. Furthermore, their compact shape demands minimal storage space, perfectly suiting the needs of people continuously on the go.
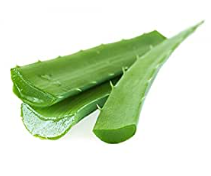
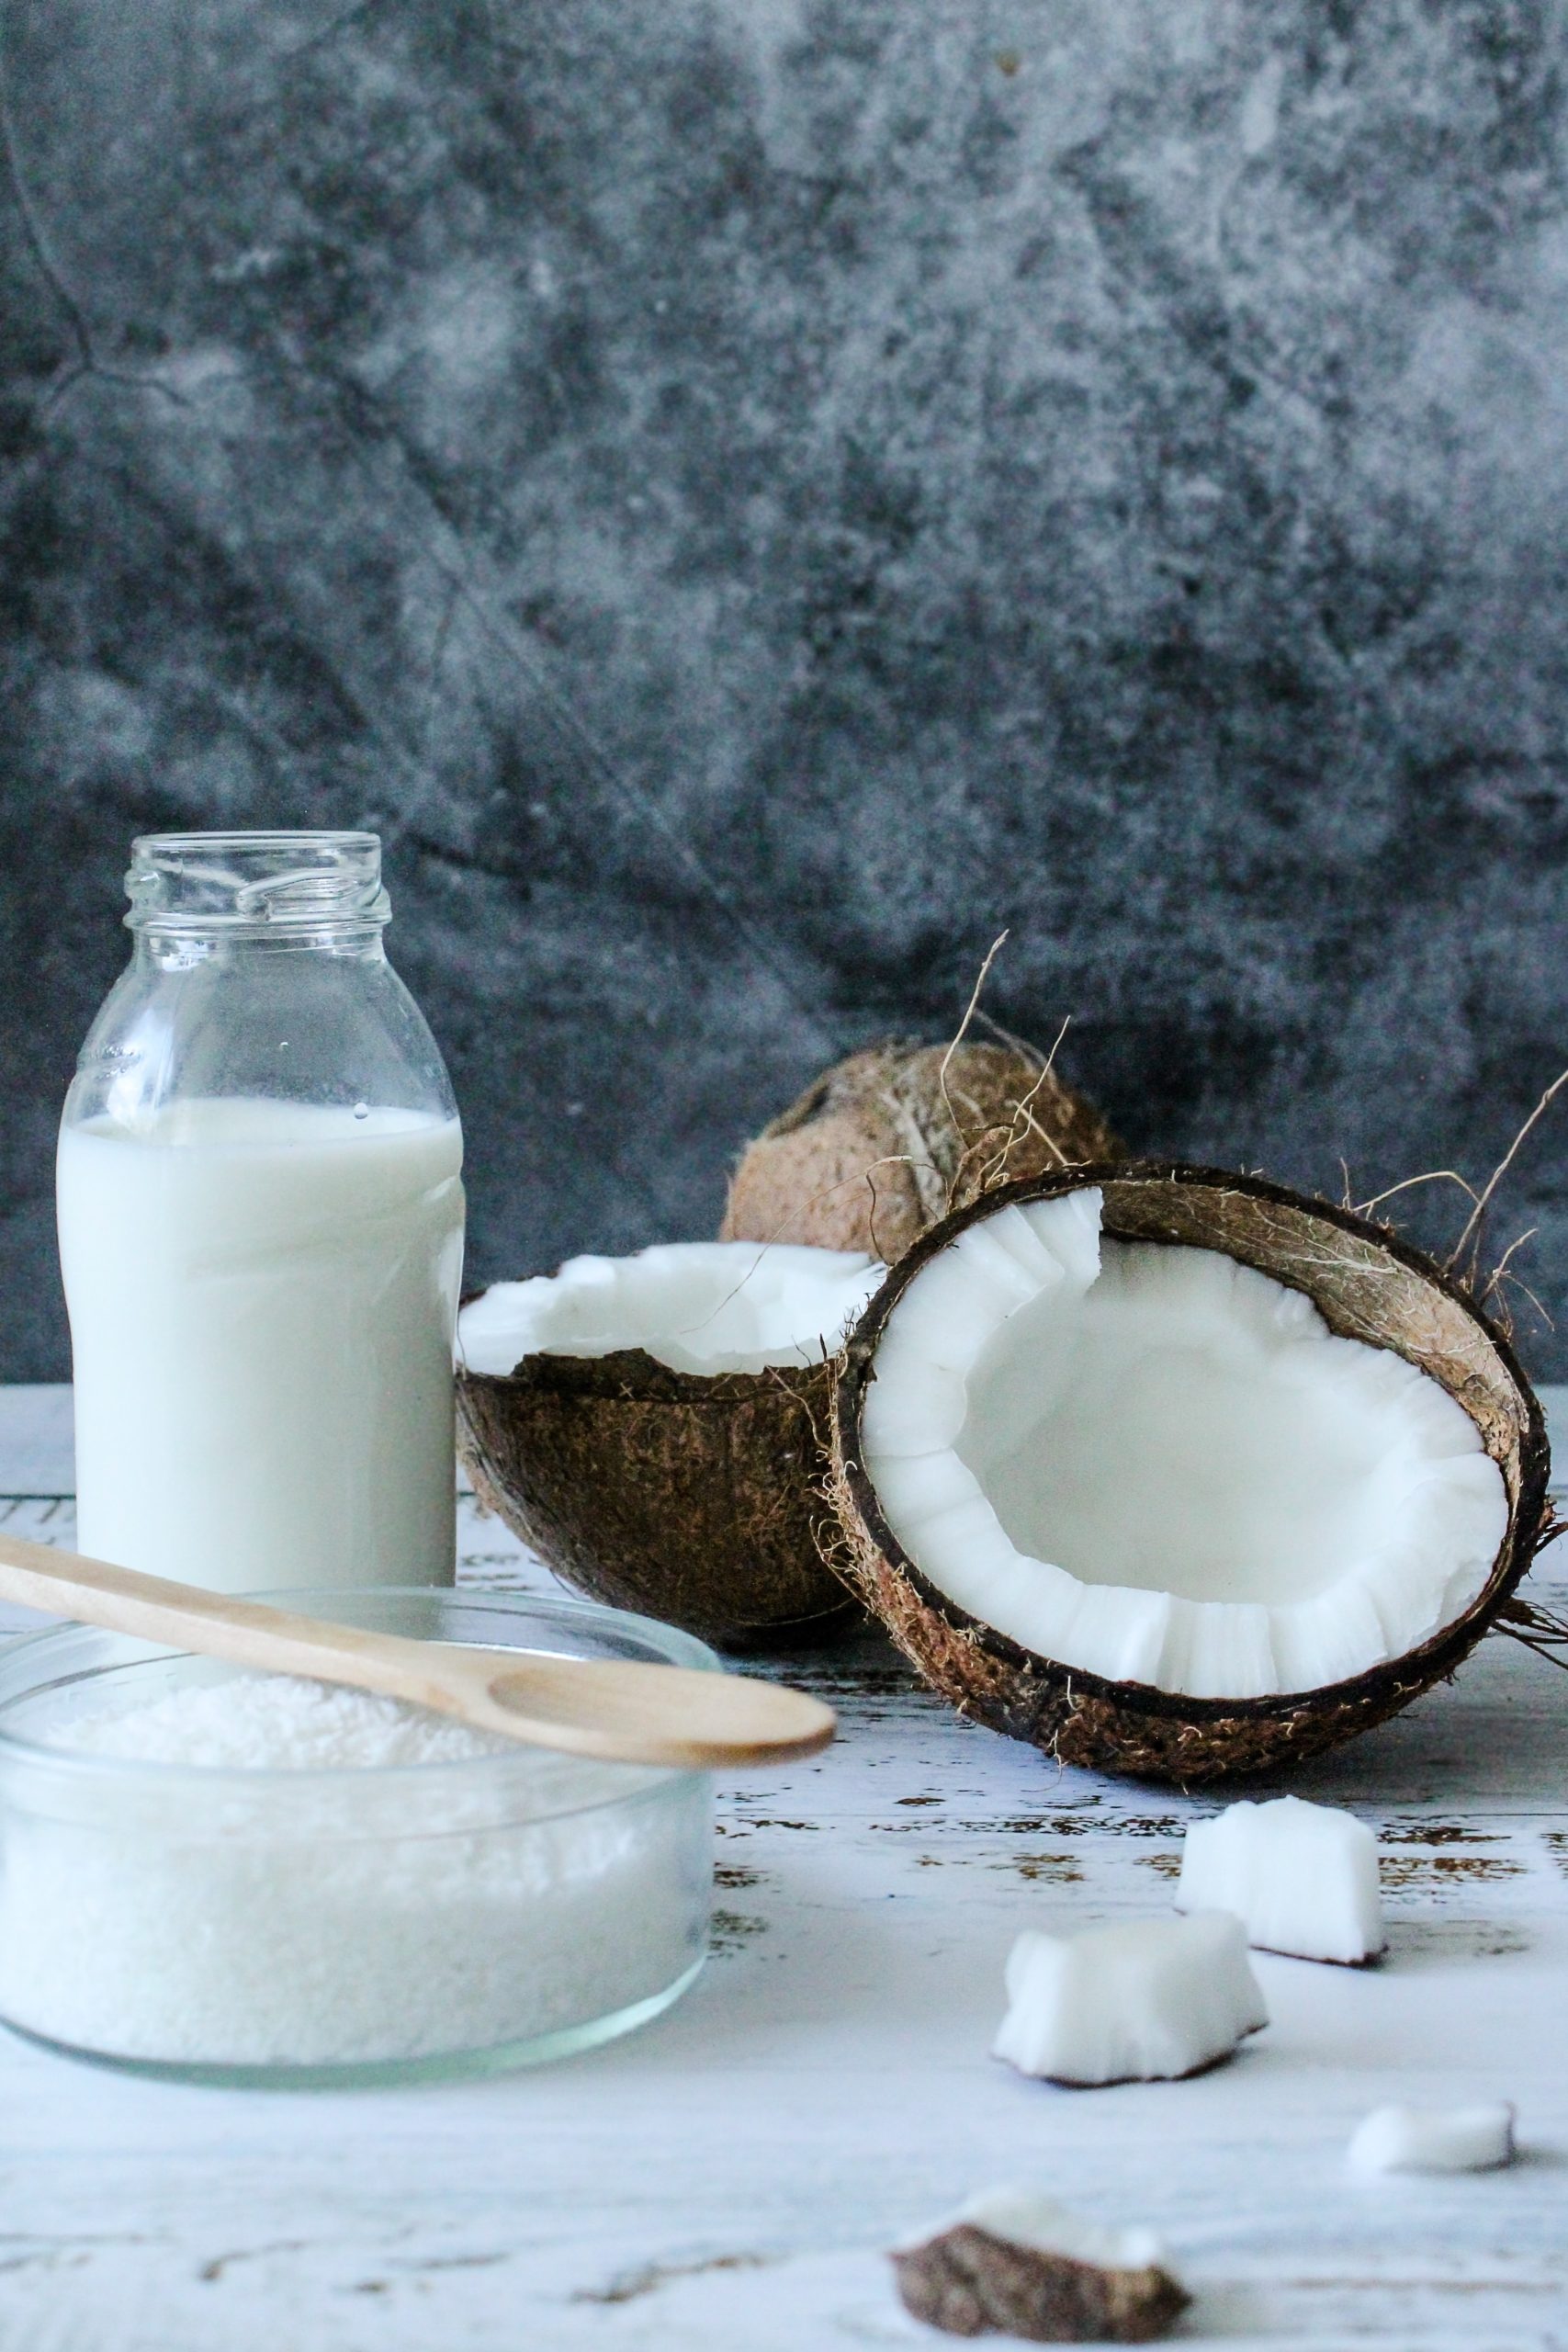
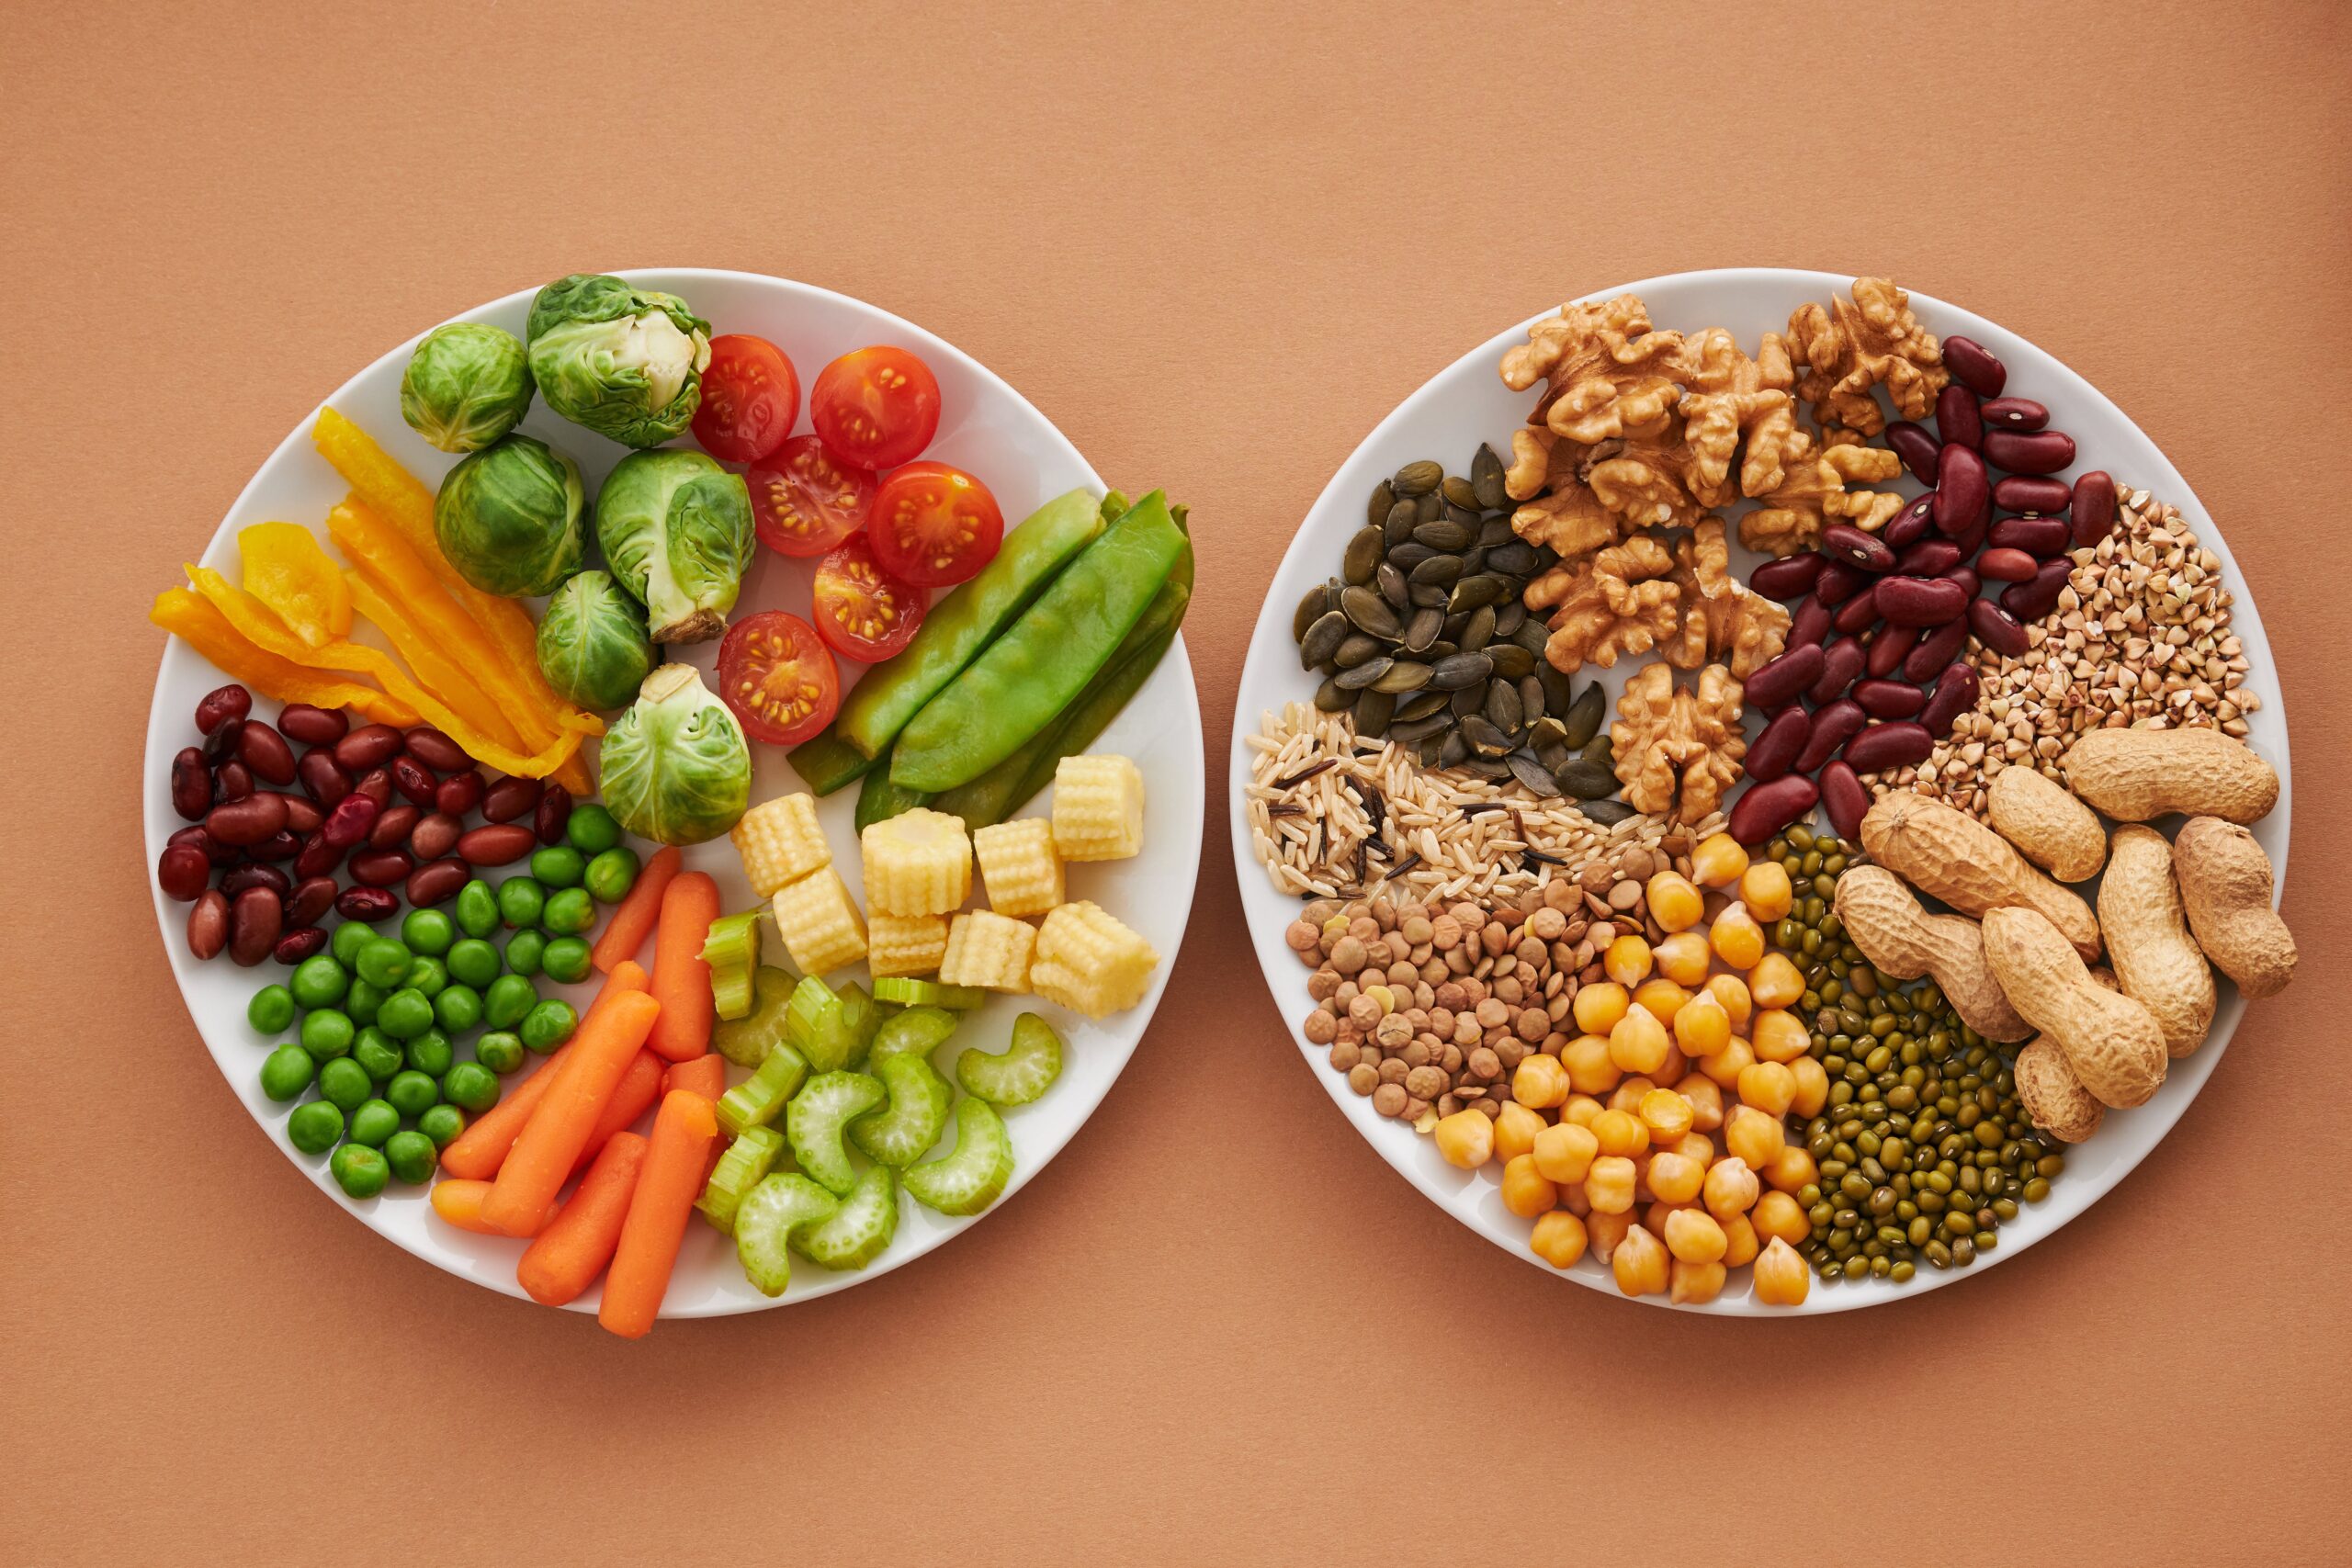
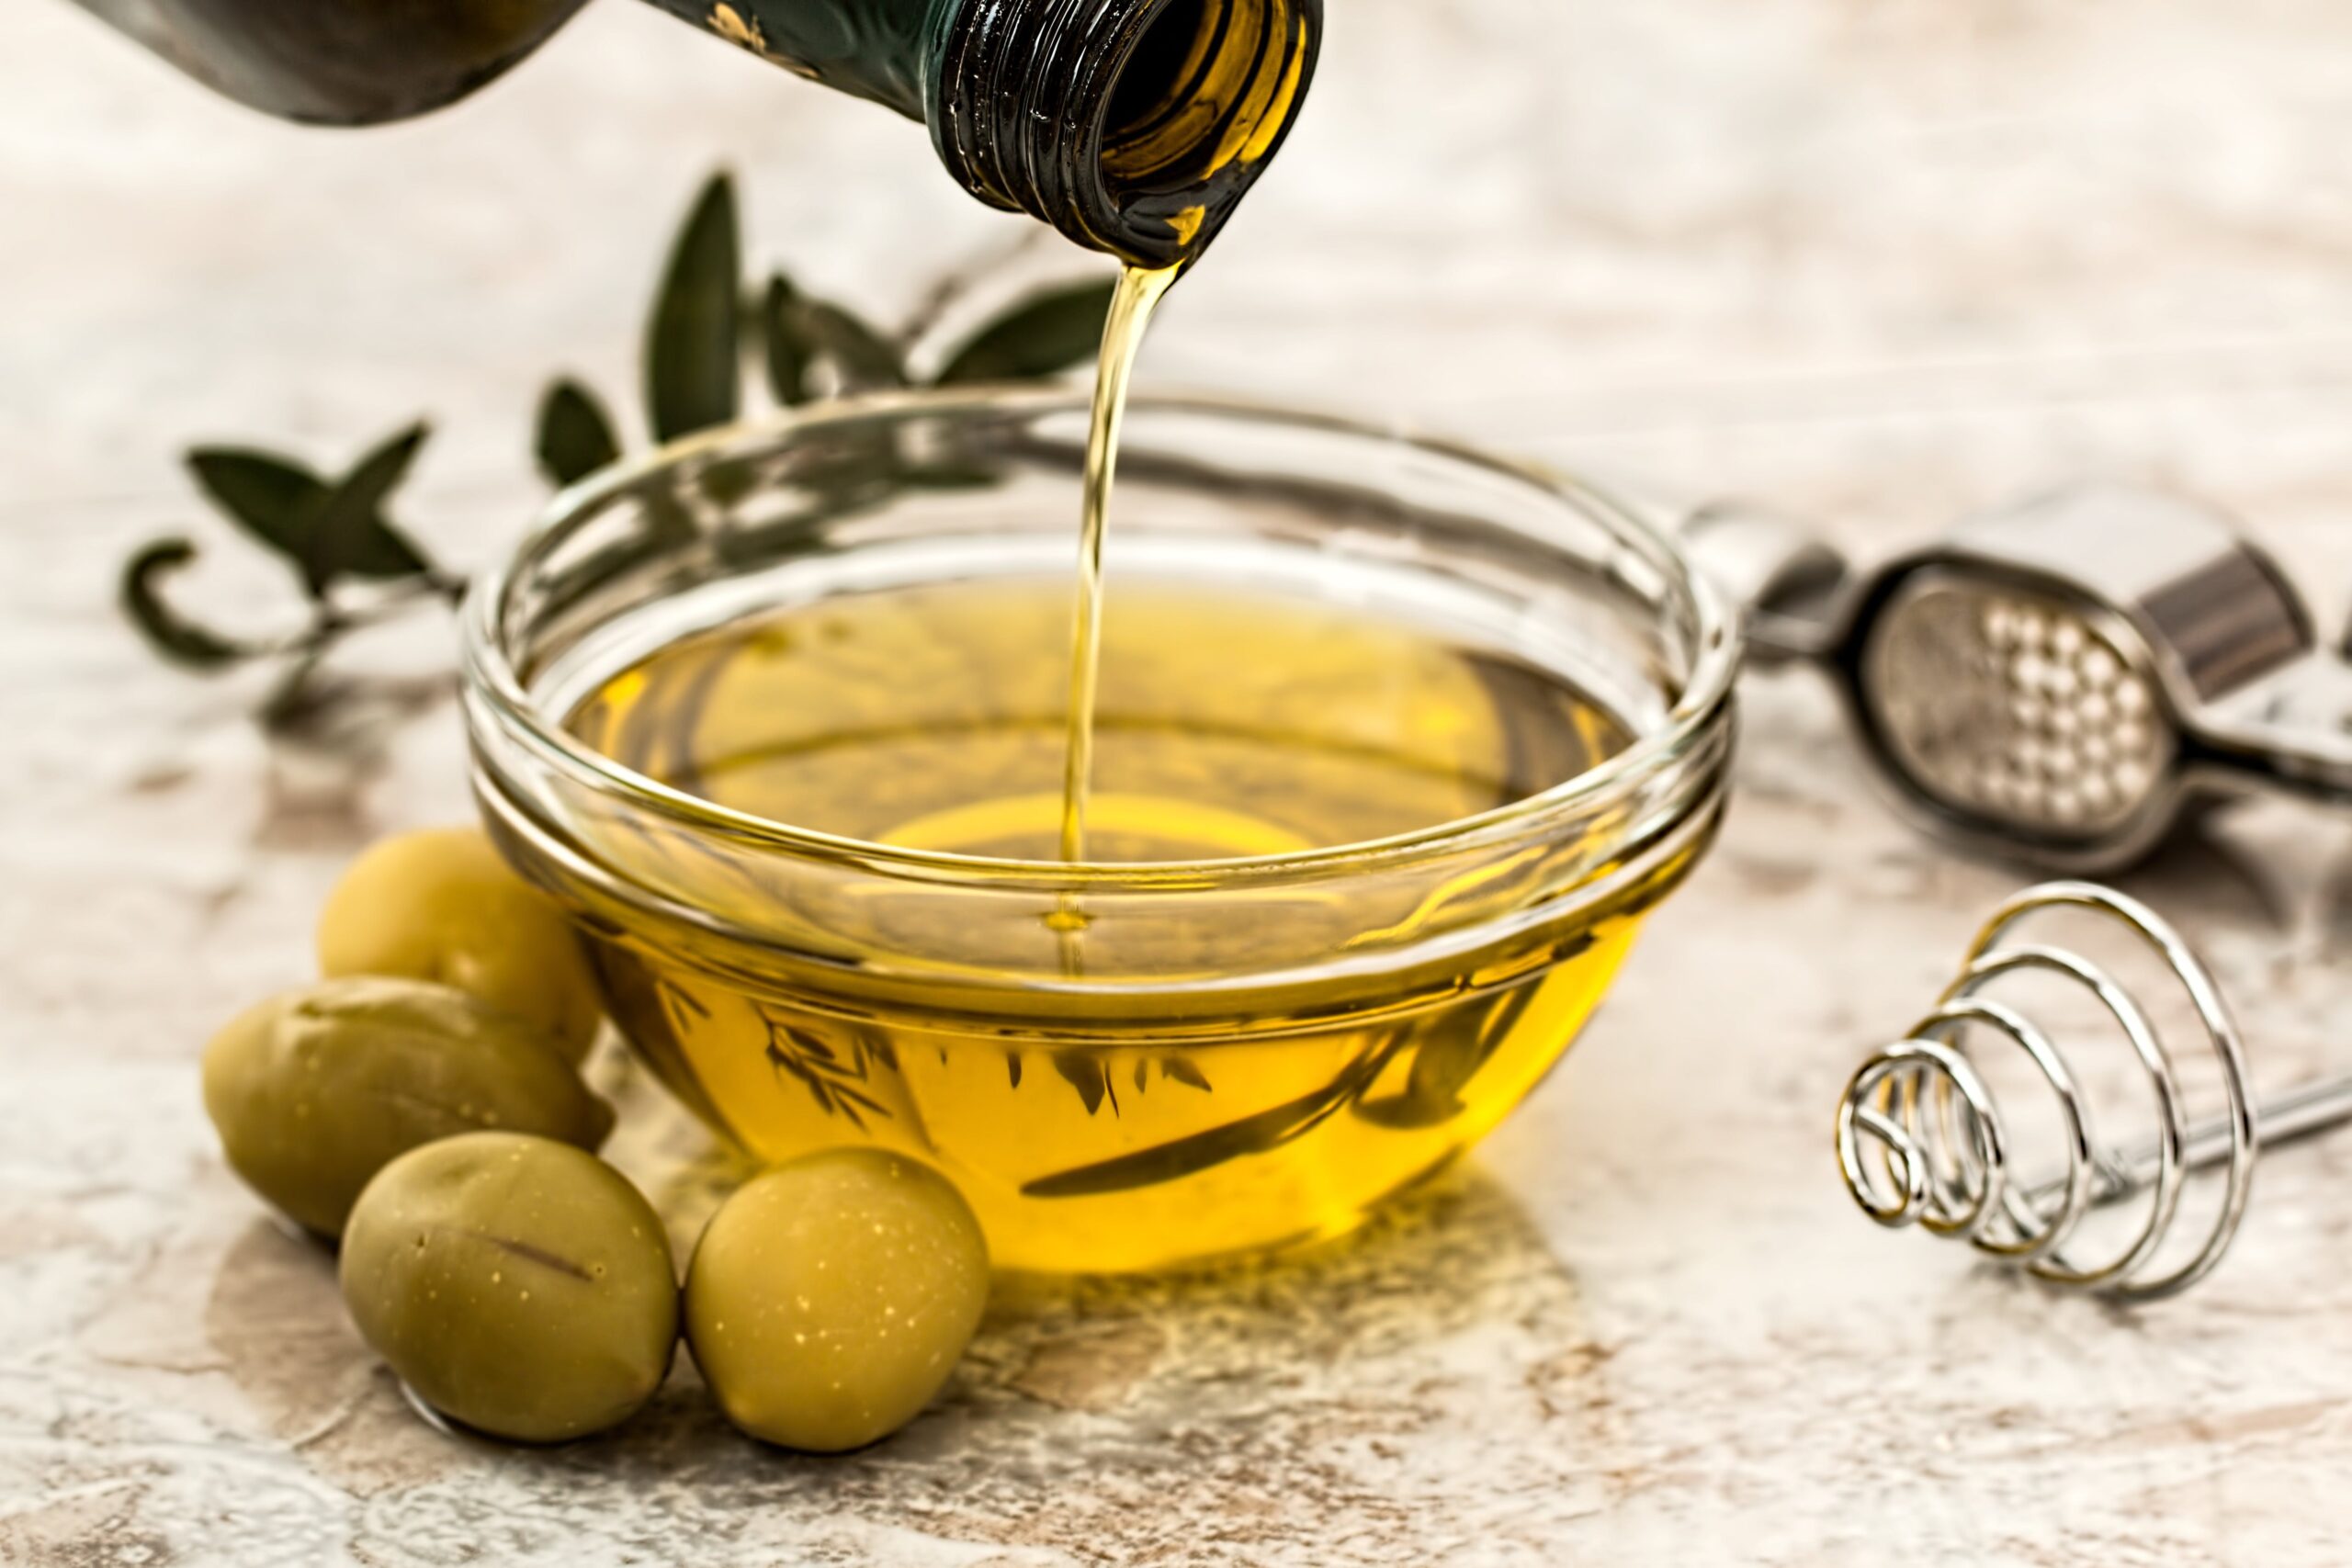
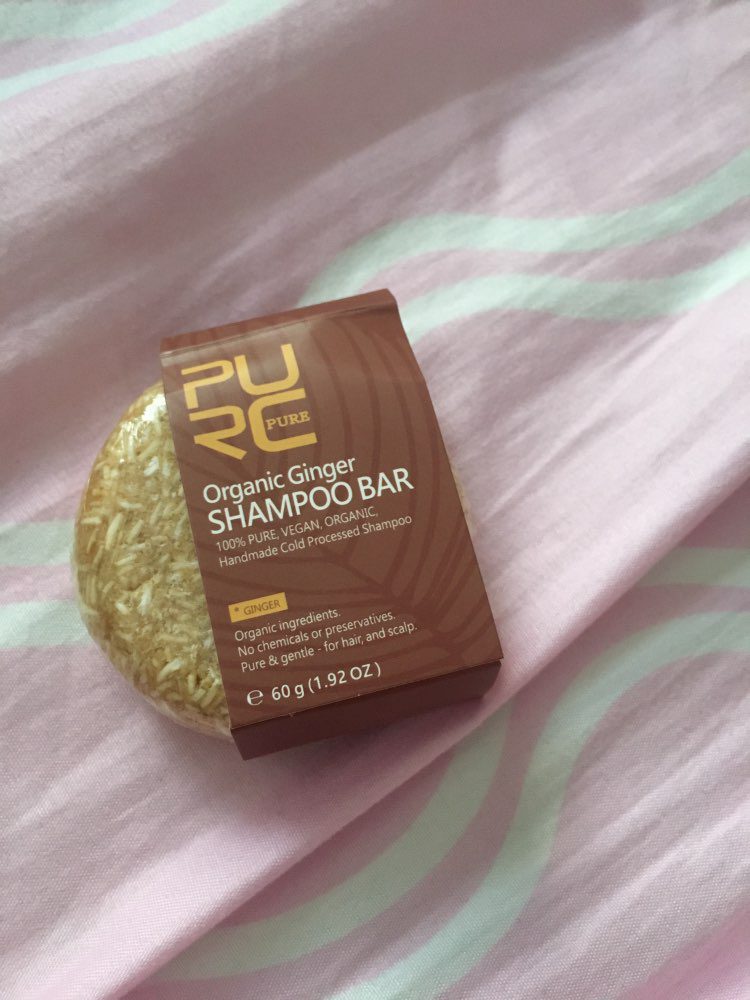
- Acceptance of Natural Ingredients: Using natural, organic ingredients in their creation gives many shampoo bars a unique benefit. These bars protect the environment and promote healthier hair by removing artificial components and avoiding harsh chemicals usually found in liquid shampoos.
- Diverse Applications: Shampoo bars are adaptable, frequently beyond their primary usage. Some kinds accomplish many roles, operating not just as hair cleansers but also as body washes or even as gentle laundry detergents. Because of its various applications, there is less need for unnecessary items, which encourages a simpler, more environmentally responsible lifestyle.
Making the Switch to Shampoo Bars: Overcoming Obstacles
Shampoo bars have several benefits, but converting from liquid to bar form may present distinct issues. When employing solid bars, consumers could notice an initial divergence from the customary liquid form and possibly have a learning curve. To maximize the advantages of shampoo bars, one must become familiar with how to use and store them. Moreover, picking the correct shampoo bar that meets your preferences and individual hair type is vital to a smooth transition.
Sometimes, it takes some time to get adjusted to a new hair care regimen. Applying and using solid bars instead of liquid shampoo can have various repercussions for the consumer. To reach the anticipated effects, the transition could need some time and trial. Users may negotiate this metamorphosis more simply if they know how to soak the hair, lather the bar, and apply it efficiently.
It’s also crucial to know how to maintain shampoo bars properly. To preserve their quality and avoid early disintegration, the bars must be allowed time to dry between uses. Reusable containers or soap dishes with sufficient ventilation are beautiful ways to keep them durable and practical.
Advice for a Smooth Transition
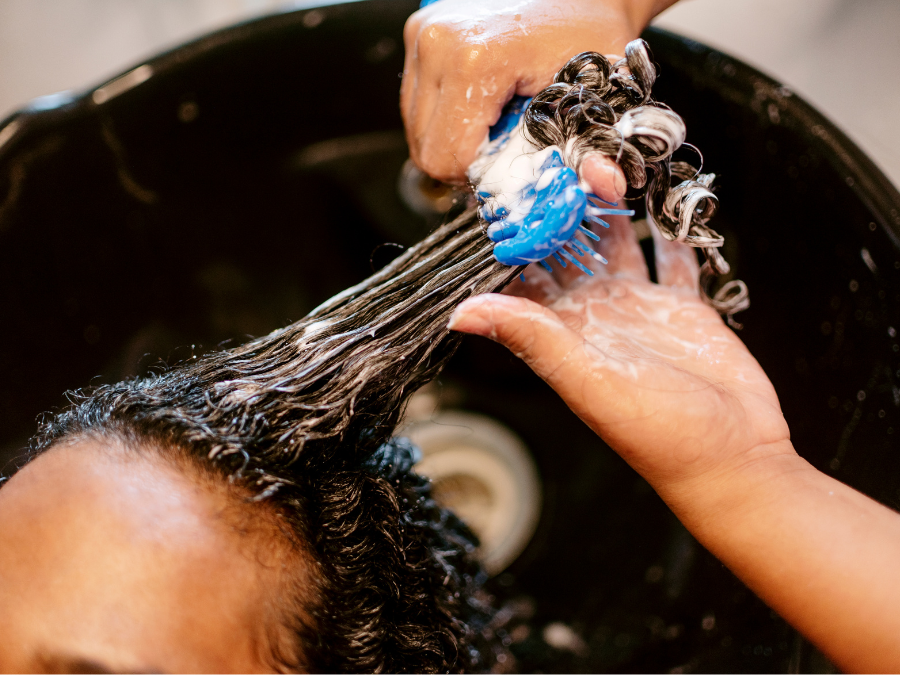
- Approach to Implementation: Wetting the hair and applying the product by either lathering it between the palms or straight onto the hair is a vital step in using a shampoo bar. Using a delicate stroke motion helps build a lather that is comparable to that of traditional shampoos, resulting in a thorough and fast cleansing procedure.
- Proper Storage Procedures: Getting the most out of a shampoo bar means extending its life. To maintain its integrity between applications, adequate storage is essential. The best techniques are to store the bar in a reusable container or to set it on a soap dish that has been completely drained. By allowing the bar to dry out, these storage options prevent it from getting too damp or collapsing too quickly.
- Examining a Variety of Options: Shampoo bars are popular because they come in various formulations that treat different hair types and conditions. Accepting the challenge of trying out multiple bars enables investigation and identification of the best acceptable alternative. Trying out several shampoo bars streamlines the process of identifying the ideal product to match individual hair demands, resulting in optimal and tailored hair care outcomes.
Shampoo Bars’ Contribution to a Plastic-Free Environment
Making the move to shampoo bars is a tiny but significant step in the broader battle to free the environment of plastic. Beyond merely applying to the individual, these bars also contribute to a more substantial effort to minimize plastic waste, which affects the environment. The quantity of plastic pollution that is reduced increases with the number of consumers choosing sustainable alternatives like shampoo bars. This reform not only raises awareness of environmental issues but also motivates the cosmetics business to look for more ecologically friendly goods, thereby establishing a standard for future practices.

Promoting Adoption: Encouraging Change
It is vital to teach clients about the advantages of shampoo bars and their overall beneficial environmental impact to promote their use. Educating people about sustainable haircare solutions can enable them to make educated decisions that contribute to a more sustainable way of living. By providing a selection of environmentally friendly goods and encouraging the use of shampoo bars through informational marketing efforts, companies and retailers also have a significant influence.
Conclusion
In summary, Eco-friendly shampoo bars are replacing traditional liquid shampoos as a purposeful move toward a plastic-free environment. These bars not only give excellent hair care, but they also make a significant difference in decreasing plastic waste. For those looking for sustainable solutions, their attributes—such as lifespan, adaptability, and low environmental impact—make them an enticing option. One shampoo bar at a time, adopting shampoo bars is an easy yet efficient technique to contribute to the broader effort towards a more ecologically conscious future.